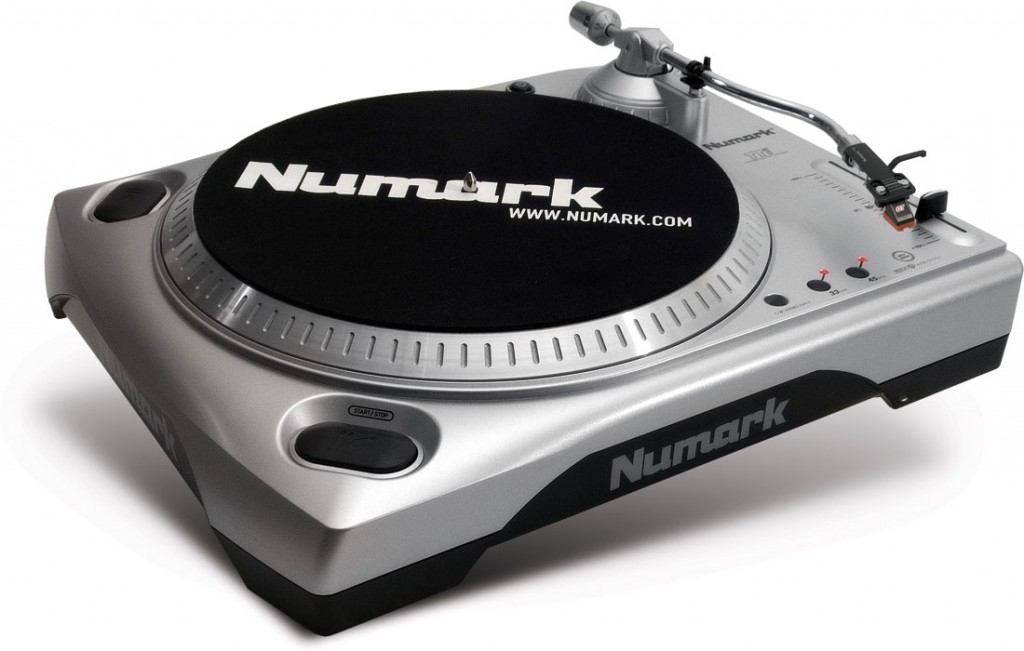
A gramophone record, also known as a phonograph record, vinyl record, or simply record, is an analog sound storage medium consisting of a flat disc with an inscribed spiral groove. The groove starts at the edge of the disc, gradually moving toward the center. This was the primary recording medium for much of the 20th century, later succumbing to the rise of digital media by the late 80s. 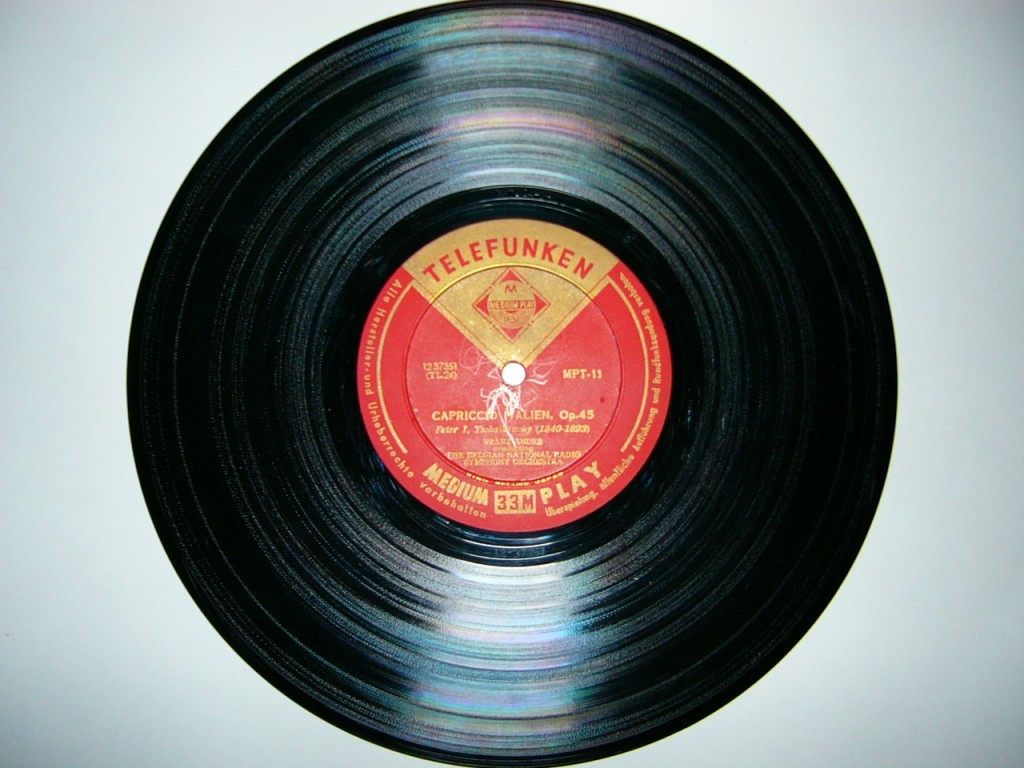 Many artists during the 20th century would have their work recorded only onto vinyl record, never being re-released as digital. As a result of this, it’s often difficult to obtain more obscure artists and compilations, as many records today cannot be found digitally on a CD or in MP3 format. Many times, the only solution involves manually transferring the existing record to a digital media file. You will need to obtain a few pieces of equipment prior to transferring. You will obviously need to get a turntable of some sort. I recommend going with a usb turntable as it has an easy to use, direct connection to a computer with a usb connector. Numark, for example, makes a great usb turntable at a reasonable cost.
  You will also need a computer with an available usb port, computer speakers, audio editing software, and a cd burner and blank media (if planning to put onto a CD). The first step of the process is to locate which album or record you would like to have transferred. Before beginning the transfer process, it is wise to inspect the record for visible damage such as cracks, warping, or deep scratches, as well as noticable dirt, dust or other debris that could get inside the grooves. These foreign objects can result in an undesireable popping or cracking throughout the record. If the record is has a considerable amount of dirt or smudging, there are several commercial products available that does a great job at cleaning the grooves. Remember that a clean record will save you time and effort in the restoration process, as well as provide much better results. Once the record has been sufficiently cleaned up, it’s time to begin the transfer process. Once the turntable is correctly hooked up to your computer, and the software installed, you should be ready to start recording. For the recording application, I recommend using Audacity, a free but powerful audio editing software, we typically use this application when doing LP to CD transfer in Orange County. Place the record onto the turntable, and gently place the stylus on the outer rim of the record. Click record button on audacity to start recording, then press play on the turntable and once the audio kicks in, you should notice peaks forming on the timeline in audacity. If you see sound recording, then sit back, enjoy, and wait for the record to finish. Once finished, click the stop recording button, and you should have an audio file of the record you just recorded. From here, anything is possible, but I would suggest running Audacity’s built in pop and click removal tool, which greatly diminishes the sound of popping and clicking which is common in most old records. After you have cleaned up the sound to your liking, all that is left to do is export the file as a wav, or if preferred, an mp3. Now, if you would like an audio CD of the record, all you need to do is load up your favorite CD burning software and import the recorded .wav file you just exported. From there, simply burn the CD and you are ready to go. We are always doing record to cd in San Diego and Orange County, so stop in or give us a call!


