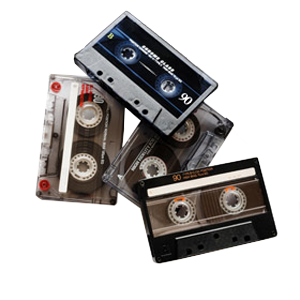
Do you have recordings of people sounding like chipmunks? This is typically a problem of differentiating tape playback speed. When a tape is played back at a speed that is faster than what it was recorded on, you will get the chipmunk effect. If the opposite happens, then you’re recording will sound slooooooooow with lower tone. When transferring your own media, you may soon discover that not all devices include an option for changing playback speed. In this short guide, you’ll learn a quick method to remove chipmunk effects from your recordings.
Sometimes just transferring to your computer is only the first step to restoring your precious old recordings. Thankfully there exists some great free tools that can help us out when recordings decide to be difficult. One tool, which I’ve mentioned in the past that we use quite often in our facilities, is Audacity. Audacity is a free open-source audio editor. Although a light program, it’s packed with great features you’d normally have to pay an arm and a leg for, and it does them pretty well. In order to change the speed of a recording it first must be transferred to your computer via cassette to cd transfer or reel to reel to cd. Once you have the audio file, open it up with Audacity.
Once it’s loaded onto the timeline, you can now begin to edit the audio. To change the speed of the recording we first must select where we’d like it to take effect. If the file you’re working with is of a consistant speed throughout, you can simply press Ctrl+A to select the whole recording. If there are scattered breaks of different speeds, you’ll need to select only the parts of the audio that need a speed change.

Once you have determined where to place your speed change, you’ll need to click on the effect->change speed menu item at the top of the program.

You will now be presented with a box that you can input values of how much you’d like to change the speed by percent. Putting 50 in the box will increase the speed of your recording by 50%. By inputting -25, you will slow your recording down by 25%. Below that is a convenient vinyl record conversion box which will take care of correcting your vinyl record speeds. Once you determine the correct percentage, click preview to test it out, and then OK to apply the change. Once you are finished with all of your speed changes, you can easily save a new audio file by clicking on File->Export and then selecting your audio type.

We offer audio transfer services such as cassette to CD, Vinyl to CD, and reel to reel to CD in San Diego and Irvine.


