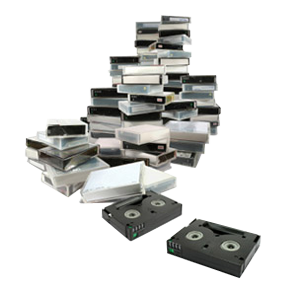
Most VHS tapes just do not look as good when played today as it did 20 years ago. They can suffer from all sorts of symptoms such as color loss or degradation, warping, flickering etc. Often times these problems can be so severe, that it can distract from the video itself. Thankfully, with a little bit of knowledge and equipment, you can still get the most our of your VHS to DVD transfers.
The fist step to improving the quality of your VHS tapes is to start at the source, and make sure your tape is cleaned, and in good condition. Sometimes you may find that you need to repair your VHS tape and put it in a new shell. You’ll also need to find a good quality VCR. Transferring your tapes in a poor quality VCR will be much much harder to restore with software. It’s always recommended to get the highest quality initial transfer as possible.
Sometimes I’ve found that the VCRs from the 90s will play old tapes better than a brand new one from the store. VCR’s are not all created equally and so sometimes it’s a gamble to find a really good piece of equipment. The types of VCRs that will give your the most improvement on your VHS to DVD transfers would be a professional name brand or broadcast quality VCR with a built-in or standalone TBC, or time-based correcter.
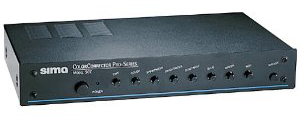
Once you have a good working VCR in order, you shoud also look into obtaining a color correction unit. These nifty devices receive the video signal from your VCR and allow you to finely tune the colors of your video so that you can get very close to the original colors on the tape. Again, this step of correcting the color at the transfer source will save you editing hours later on. Sometime different scenes will shift to different colors, so it’s wise to monitor your video so that you can make any adjustments needed as it’s recording.
Once the video has been transferred to your computer, the last step is editing the video clip through a software based video editor such as Final Cut Pro or Sony Vegas. With these programs you can touch up the video and remove any remaining blemishes, as well as clean up the audio if needed. If you follow these basic steps, you will dramatically improve the quality of your VHS to DVD or VHS to hard drive transfers.


