Gather and Organize
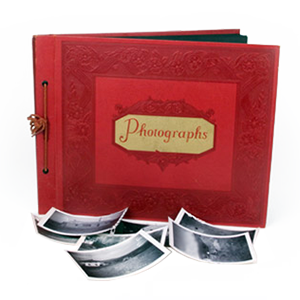
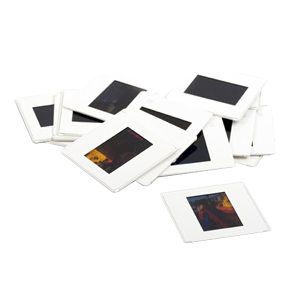
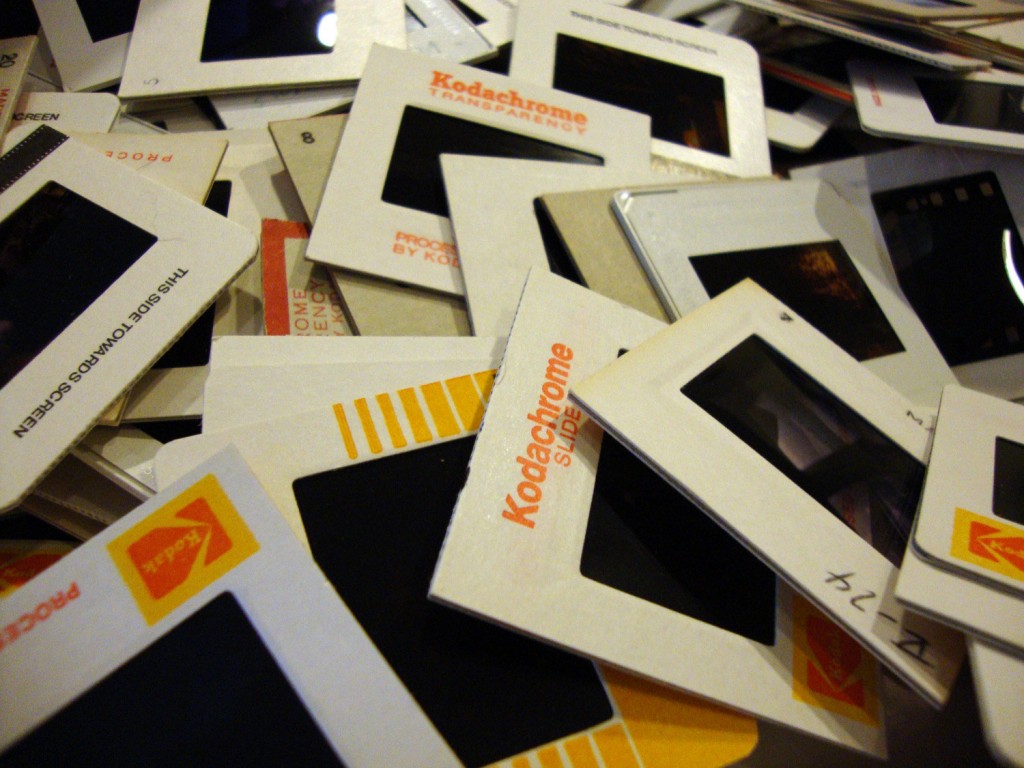
I’m sure somewhere in your possession, like most people, is a box or two of old slides, photos, or negatives collecting dust in an old cabinet or drawer. For this entry, I will focus on slide scanning in San Diego. Generally, people take pictures to capture a particular special moment or setting that can be preserved and shared for generations. However, as time goes on, these forms of media can and will degrade. As you may know, the best solution to this problem is to somehow find the time or money to get all of these images digitized. Depending on the quantity of images, this can be quite a daunting task for any individual. With the right game-plan, and preparation, it could turn out to be a fun, engaging project that will bring your whole family together.
The first step in the process is to determine how many of your slides you wish to have scanned. This is a very important step, as it will help determine which route would be best for you, whether it be purchasing an accessory for your home scanner, rent or purchase a brand new scanner, or to simply have a digitizing service, transfer them for you.
The next huge thing to consider before proceeding is to determine how much time you actually have to devote to the project. For example, if you have a full-time job, a busy family life, and 1,500 slides that need to be scanned in 8 days for Grandma’s 80th birthday, buying a manual feeding scanner isn’t the most practical route.
Note: Resolution or (DPI) is the number of distinct pixels in each dimension that can be displayed. So, roughly, a 35mm slide has the approximate resolution of that of a 13 megapixel digital camera image (about 3,600 dpi). So if you scan a slide at less dpi, then you limit what you can do with the final image compared with the slide. On the contrary, if you are digitizing to send to family and friends, then 3 to 6 megapixels (2000dpi) is plenty for the average 4×6 photo print. However, if you plan on blowing the images up to 8×10, 11×14 or larger, you need to start with as big a digital image as possible.
Using a Scanning Service
This is a great solution for a person with a lot of slides, a busy lifestyle, and an eye for quality. Typically digitizing companies will use the most high-end equipment on the market to scan your slides. This can be extremely beneficial for people who want to preserve their slides at the highest available quality. DVD Your Memories also has a dedicated image scanning department and technician who will work on your slide transfer in Orange County or San Diego which provides for much faster turnaround times compared to what you can get accomplished alone.
Renting a Scanner
Renting a scanner can be an effective method to process any number of slides. The rental will generally consist of a Nikon CoolScan of some kind, and will often come with the bulk slide loader, making large orders much easier to process. However, it may be difficult to pin down a place that will rent the equipment to you. Trying local photography stores and studios may be your best bet to start looking. Renting a scanner can cost up to $200 per week, not accounting for time learning to use the machine and software, which makes this option best for people who have working knowledge of the equipment.
Buying a Scanner
Before purchasing a brand new flatbed, check to see if the flatbed scanner you already own can scan slides and negatives. Go to the manufacturer’s website and search for your scanner model and any accessories it may be combined with. Typically, the accessory you would be looking for would be a new top cover that has a scanning lamp in it and is glass on the bottom of the cover, compared to the typical plastic over foam. When you place slides or film on the glass scanner bed, they are scanned with the lamp in the top cover, and the image is captured in the lower array as normal. There may also be some slide and film holders that may or may not come with the new top cover. If you do find you can buy the accessories to get the job done, then all you need to do is decide if the money and the time to do the job, fits with your needs. If you do manage to find a facility that will rent out equipment, this is a great method to get your slides to dvd in Orange County.
There are also dedicated slide and negative scanners available to consumers. For this article I will break them down into three categories; Low-end, Medium, and high-end.
The low-end dedicated scanners are usually equipment that will actually take a 3-5 megapixel digital image of your slide rather than scanning it. These products typically cost around $100, and are much faster at transferring slides as it takes a digital image rather than a full scan. Ion Slides to PC is an example of a low-end slide scanner.
The middle ground is a very interesting place. The bottom of the middle ground, say around $250 to $350, is occupied by some compact scanners that are fully manual, but some offer scan resolutions as high as 7,200 dpi. Plustek OpticFilm 7300 is an example of a middle ground scanner.
The high end of the 35mm slide and film scanner market has traditionally been occupied by the Nikon Coolscan, in its many incarnations, for a very long time. So if you want to scan at 4,000 dpi with possibly the best optics and scan quality you can find, you will part with nearly $1,100, and if you want to use a 50 slide batch processor, add another $500 to the bill. Nikon Supercoolscan 9000 is an example of a high-end scanner.
Keep in mind that most software bundled with scanner products are mediocre-at-best. Play around with the included software, but be aware that there are many, many programs available that work much better than what’s put in front of you immediately. Take some time to do some research, and seek out the most reliable and effective software for your needs.
Final Thoughts
Lastly, ask yourself if you ever plan to take film photos again, or if you are planning to just stick with digital transfers from here on out. If you have no foreseeable plans in the future to ever use film cameras again, it may be more cost and time effective for you to seek out a service to digitize your images, rather than buying a scanner and equipment, learning to use it, and spend time scanning each image.
After you are done digitizing your entire slide collection, you may be wondering what in the world to do with your boxes and boxes of old slides. Some people will throw them out, some will put them back in storage. Before doing anything, I would recommend backing all of your images to an archival-grade DVD or two, in addition to a hard drive. So, dumping you originals is a personal preference. The only issue you may face in the future, is if you did not scan at a high enough resolution for large prints, and down the road someone wants large prints. If you had the originals you have a choice to rescan it at higher resolution to make the big prints of higher quality. Don’t forget to stop by your local DVD Your Memories store this holiday season for some great gift ideas such as; slide scanning in Orange County or if you have lots of old 8mm, 16mm, or Super8 film, we also offer film transfer in San Diego and Irvine.





I found this article useful in a paper I am writing at university. Hopefully, I get an A+ now!
Thanks
Bernice Franklin